| Moderated by: Greg Fletcher | ||
| Author | Post | |||||||||
|---|---|---|---|---|---|---|---|---|---|---|
|
Bfitz241 Member 
|
I'm at the point where I'm trying to recreate the fuel hose routing in the trunk. THe original pump is gone, and the hoses aren't hooked to anything..they're all rock hard so they'll be replaced. Anyway, does the fuel pump mount on the left side of the trunk? Found a spot thatlooks like a mount. Do the fuel lines run behind the trunk trim? I have to replace the trunk carpet and I think I'm missing some parts, if anyone can give me some ideas that would be great. |
|||||||||
|
answerman Member
|
Yes, the fuel pump mounts on the left wheel well. If nobody beats me to it, I'll try to snap a couple of pics tomorrow and post them. Mine is not original, but fairly close and you should get the idea. Do you have the cover for the fuel tank? Because the majority of this stuff lives behind it. The carpet should go up and over it, there is a hardboard sort of backing panel (actually two, one that sits vertical behind the tank and one that slides over the top of the tank?. Last edited on 04-01-2015 04:42 am by answerman |
|||||||||
|
Bfitz241 Member
|
No, that piece of hardboard is gone...I plan on a full trunk kit due to mice. What holds the panel in? Velcro? Screws? Pictures would be awesome. |
|||||||||
|
Tom Bradley Member
|
Here are a couple of pics I took when I was taking the gas tank out for relining. I always do this nowadays to help me remember how it all goes back together. What seemed obvious when I took it apart is not when I try to get things back together, sometimes weeks later. I have more and higher resolution if you need them. Attachment: gastank1-small.JPG (Downloaded 168 times) |
|||||||||
|
Tom Bradley Member
|
I can only attack one pic at a time. Here is another angle. Attachment: gastank2-small.JPG (Downloaded 167 times) |
|||||||||
|
Tom Bradley Member
|
Here is one from the top showing how the hoses were attached. I don't know why the breather tube loops around the way it does, but I kept it the same when I replaced it. Attachment: gastank6-small.JPG (Downloaded 168 times) Last edited on 04-03-2015 03:03 am by Tom Bradley |
|||||||||
|
Jim Ketcham Member
|
Pictorial in the parts manual offers an excellent view of fuel lines. Do not forget the hidden check valve in the anti-syphon hose. If the old hose is original, you can cut it open and remove the valve and insert it in your new hose. Unfortunately, many people have thrown out the valves with the old hose not knowing it is in there. |
|||||||||
|
answerman Member
|
Been wrestling with removing my old leaky exhaust manifold and replacing it with a new header, so I haven't had a chance to open up the boot and snap a few pics yet. Looks like Tom pretty much covered the fuel line routing. I will still get you a pic of how I did the carpet and hardboard. |
|||||||||
|
Bfitz241 Member
|
Jim Ketcham wrote:Pictorial in the parts manual offers an excellent view of fuel lines. Do not forget the hidden check valve in the anti-syphon hose. If the old hose is original, you can cut it open and remove the valve and insert it in your new hose. Unfortunately, many people have thrown out the valves with the old hose not knowing it is in there. I'm pretty sure that's been tossed before I came along. I will look nonetheless. Never know. |
|||||||||
|
answerman Member
|
OK, the pics I promised. Hopefully these will help. Keep in mind that I just replicated what was in the car when I got her... I am not guaranteeing that these represent what is actually factory original. The fuel pump is definitely not original.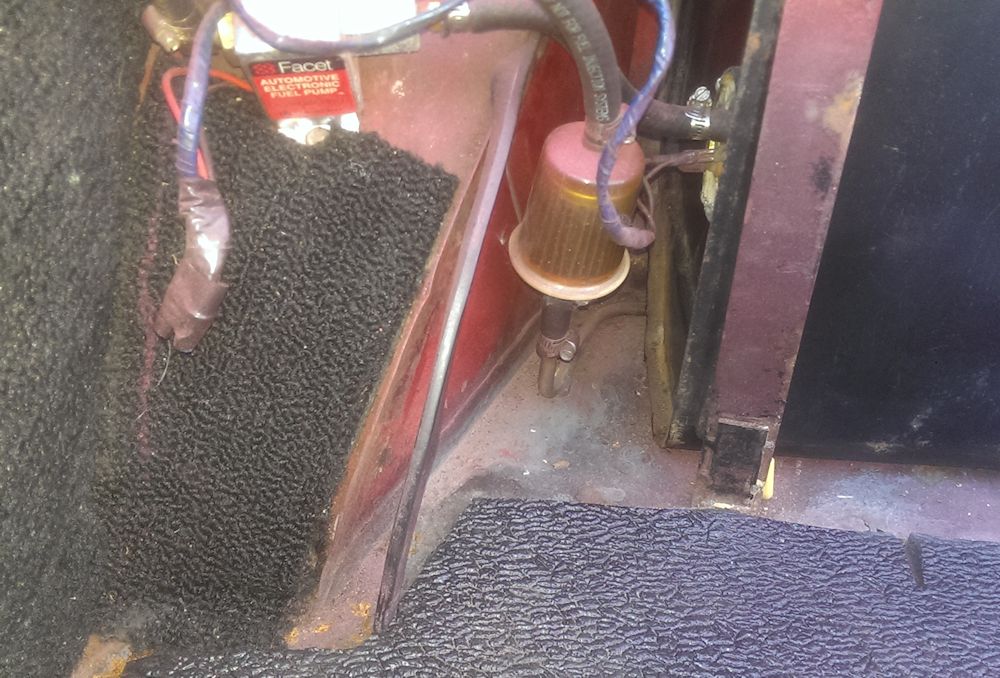 A close up view of the left end of the fuel tank, with the fuel pump. Really shoddy wiring job, I need to go in there and pretty it up (this is how the car was when I got it). If you look on the boot floor, the supply line comes from in front of the tank (relative to the front of the car), bends toward the rear and then up, and into the bottom fitting on the fuel filter. Then, the hose from the top of the filter routes over to the left side of the fuel pump (it's cut off in the picture, but take my word for it), and the hose from the right side of the pump feeds the tank. This is the only part of the fuel line that's really visible for me to take pictures of. 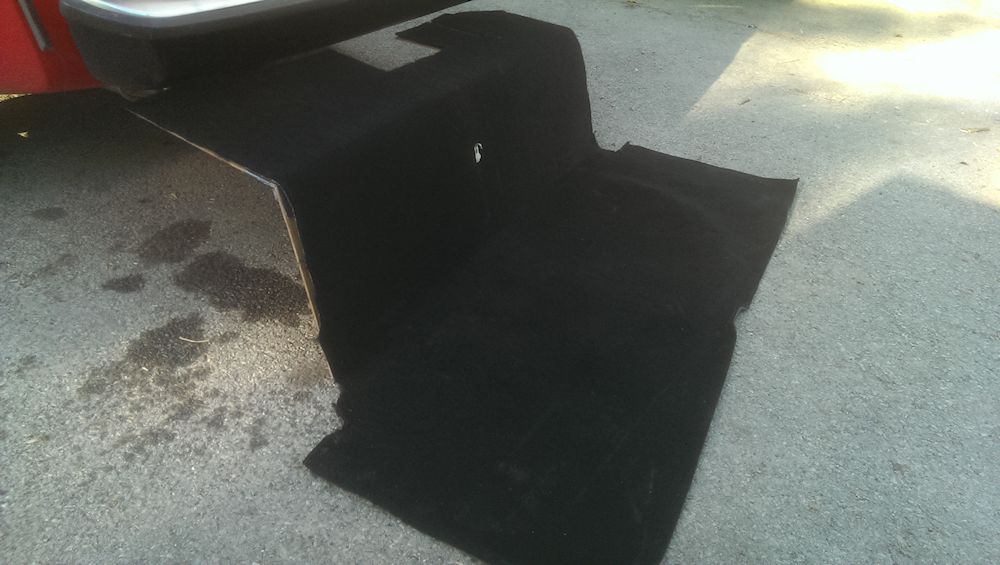 OK, putting the carpet back in. Here I have it propped against the back of the car so you get the general idea of the shape and how it bends. There are two pieces of 1/4" hardboard: one that slides horizontally over the top of the fuel tank, and one that sits vertically behind it. The horizontal on the ground is just carpet - no hardboard. That's what sits on the boot floor. The two pieces of hardboard are taped together using duct tape (not terribly elegant... there were little hinges on the original setup but I didn't bother with them since you can't see any of this when it's installed anyway. Then, the carpet is glued to the hardboard. 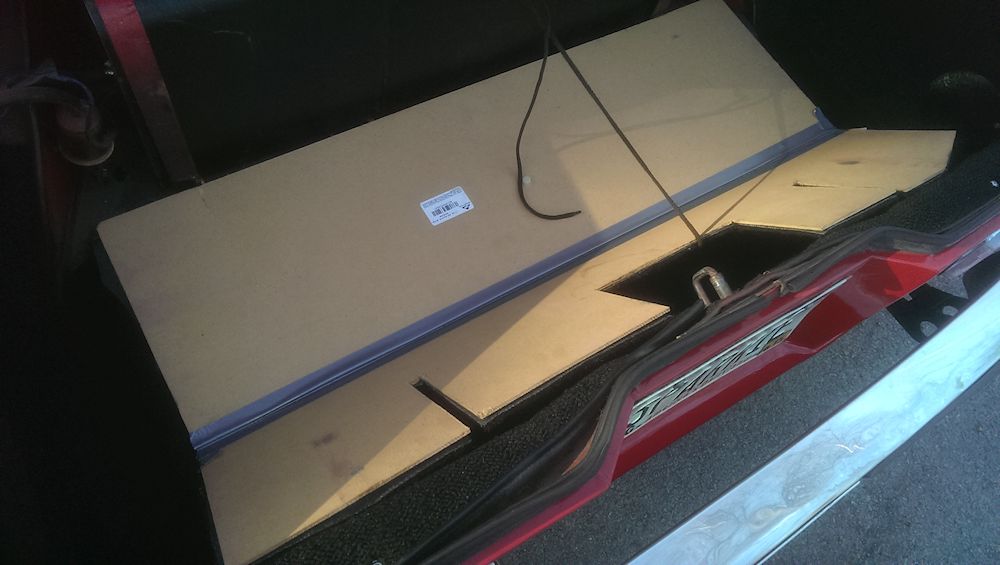 Hard to get good pics with all this black, but the carpet is laid onto the boot floor. I have the two pieces of hardboard folded back on top of it. The "shoestring" laying across it comes into play a little later... I forgot to move it for this pic. 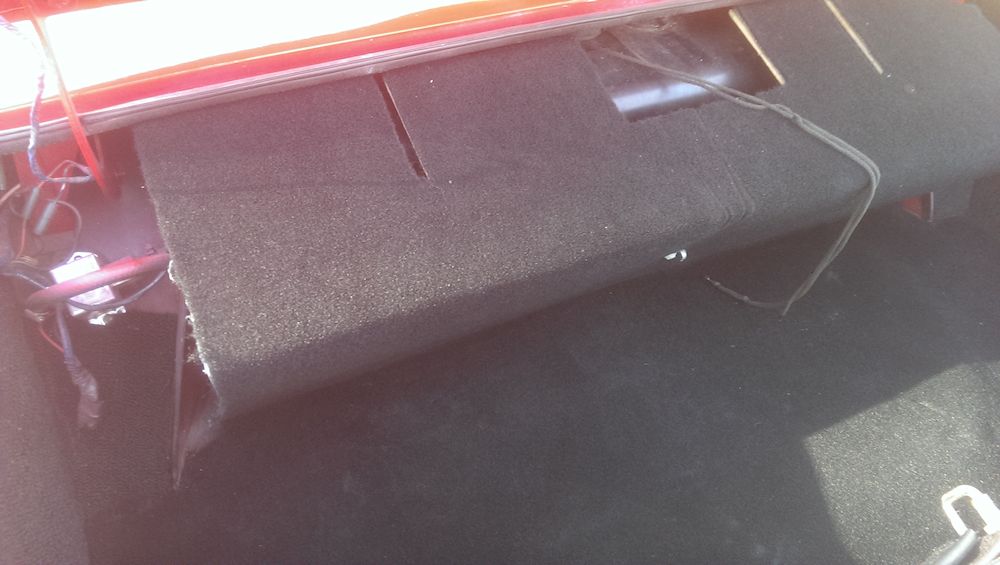 Now I'm "uncollapsing" the assembly so that the top horizontal part will slide over the top of the tank. Note that there are three slots cut in top: two at left and right for the fuel tank top supports, and the bigger center one to go around the fuel filler hose. 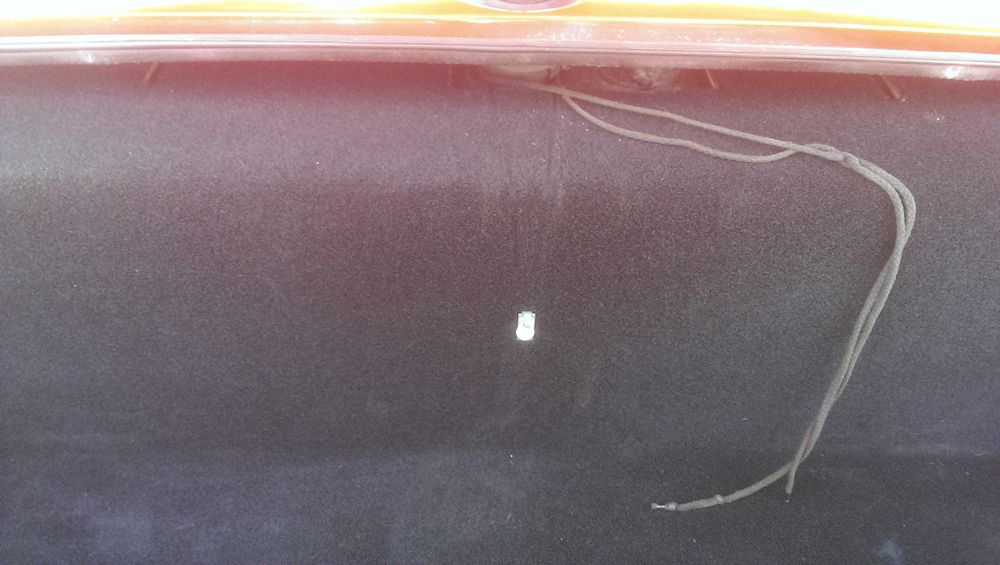 It's tucked up into place... 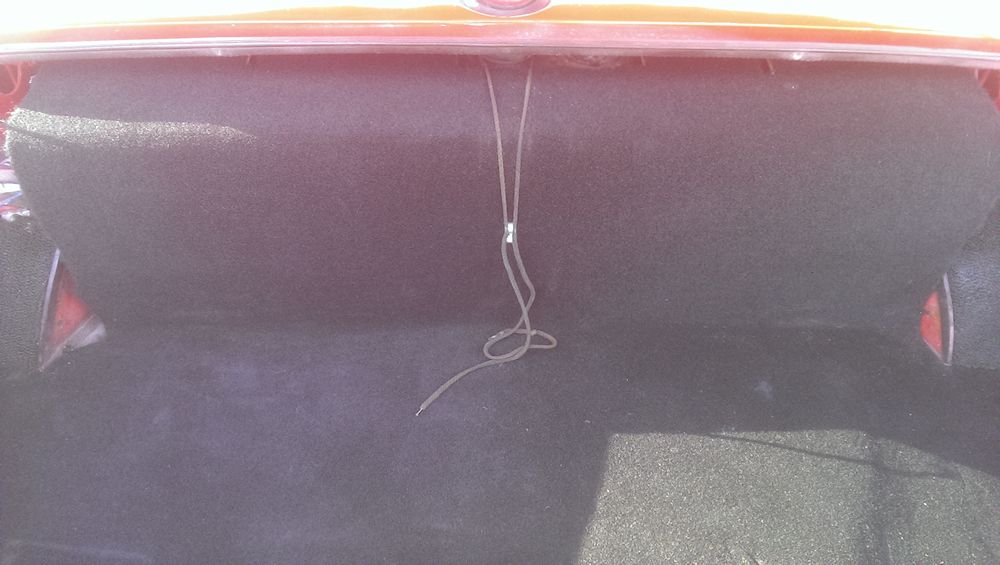 And the string you saw earlier is looped around the fuel filler hose, and hooks down onto a little metal hook that I took off the old hardboard. Again, not sure it's original, but it works fine to hold it in place. 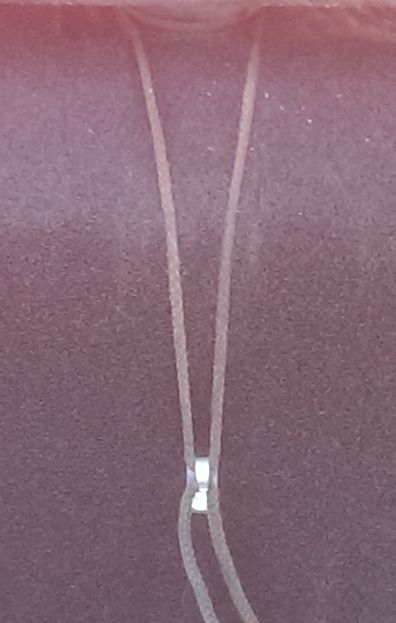 A closer look at the hook with string... 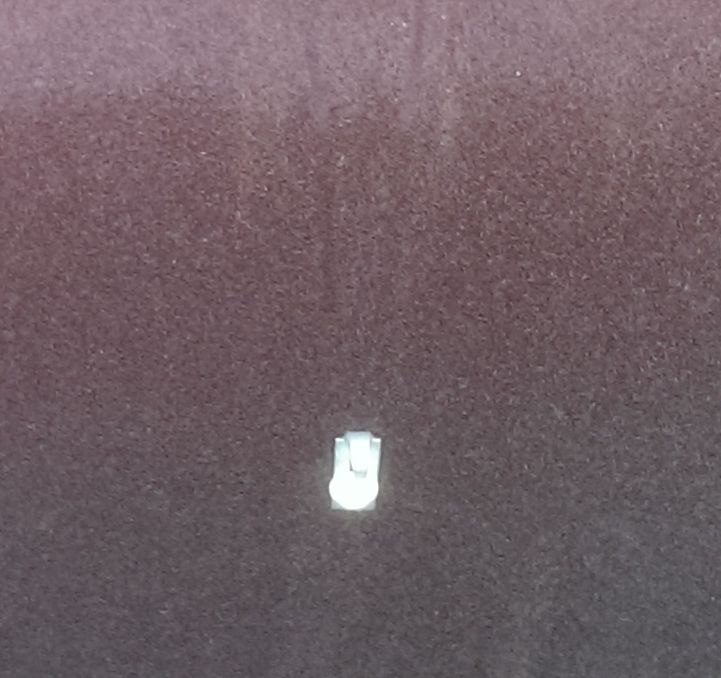 And a closer look at the hook itself. Last edited on 04-21-2015 08:27 pm by answerman |
|||||||||
|
Bfitz241 Member
|
Thanks for all the pictures...still haven't gotten to the trunk. Hate when life gets in the way |
|||||||||