| PM | Quote | Reply | Full Topic |
| Joined: | 09-10-2012 |
| Location: | Little Chute, Wisconsin USA |
| Posts: | 435 |
| Status: |
Offline
|
Since I haven't "had to" work on Ms. Jenavieve this summer, there hasn't been much to report here. However, I remembered that a while back I promised to detail the custom bonnet prop I created for her.
While I'm not tall, I do like to have as much headroom as possible when working on her. The factory prop (which was lying in her boot when I got her, which was probably a good place for it) doesn't allow a lot of headroom. One of the previous owners had removed it and installed what looked suspiciously like a prop from a 1970s Ford Pinto... just a rod which was attached with a cotter pin, stored atop the radiator, and could rotate up to a vertical position to set into a hole drilled in the underside of the bonnet. While this solved the bent bonnet problem from the original prop, it still didn't allow much more headroom, basically because the rod could only be "so" long to store across the radiator.
So, I had a brainstorm, and my son (the master welder) and I created a much improved prop. All it took was a length of round stock, and a short piece of tube stock, along with a couple of washers.
The pictures aren't the greatest, but hopefully you get the idea...
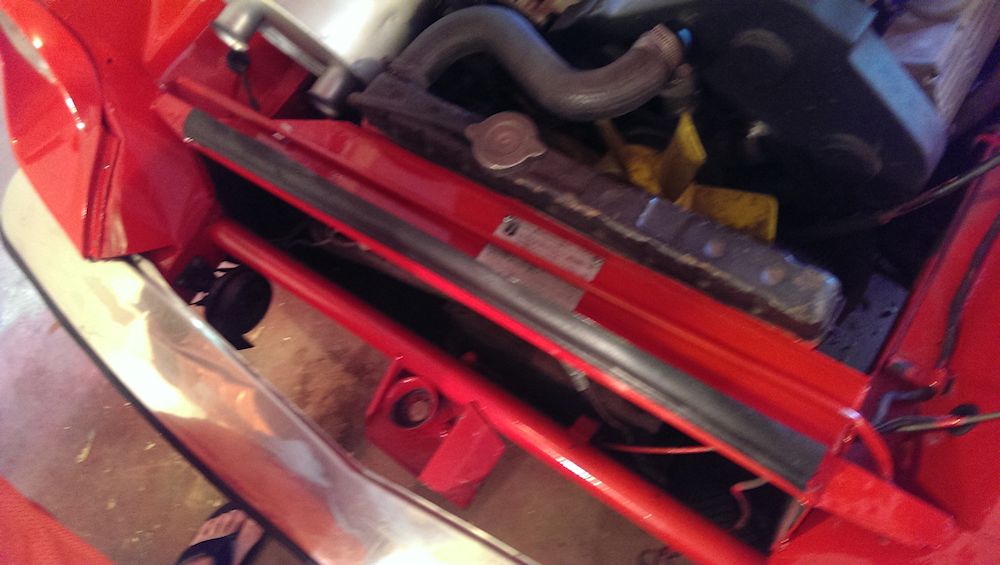
First order of business was to custom cut and bend a new rod, similar to the "Pinto" one she came with. You can see it in the pic, lying across the data plate, with a couple of bends near the end on the right so that it can "hinge". There is a washer welded about an inch from the end to act as a stop, with the remainder inserted through a hole in the sheet metal near the headlight and then held in place with another washer and a cotter pin. The left end, you will note, has something else...
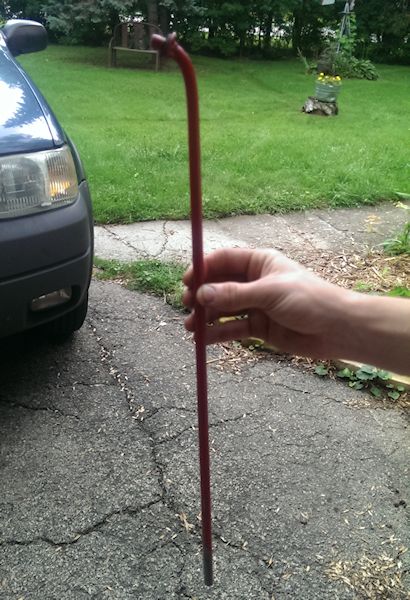
With the prop in the upright position, you can see that we welded a short piece of tube stock to the end of the rod. For quick "under the bonnet" jobs, this is all we need as the end of the tube can just be inserted into one of the recesses in the underside of the bonnet. However, for more room...
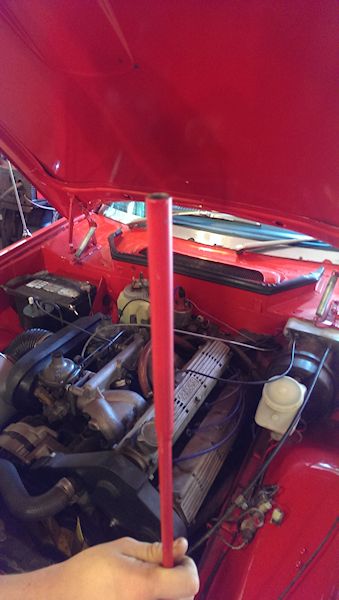
... we need an extension. This is another piece of the same rod stock, with a bend in the end and another washer welded to it...
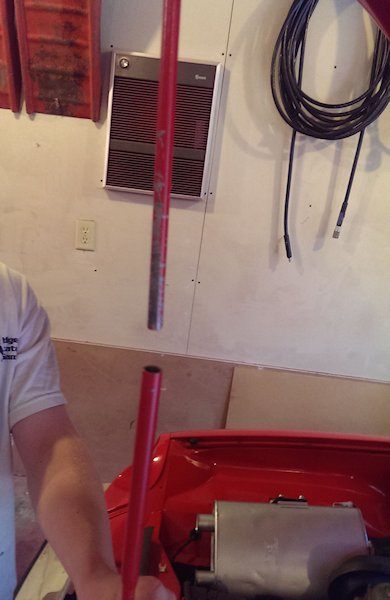
... which inserts into the tube at the end of the prop...

and into a strategically drilled hole on the front edge of the bonnet.
This makes working on Ms. J's engine much more pleasant. Lots of headroom, and it's not in the way. While it's a small chore to use (for now the extension sits in the boot... looking for a couple of clips to clip it under the bonnet) it's quite functional and easy to work around. And again, I don't "have" to use the extension if I just need to do something quick.
Now I can put my 4 foot level away... which was my "temporary" prop while I was working on the restore. No more broom handles, either!
Last edited on 08-30-2014 11:53 pm by answerman